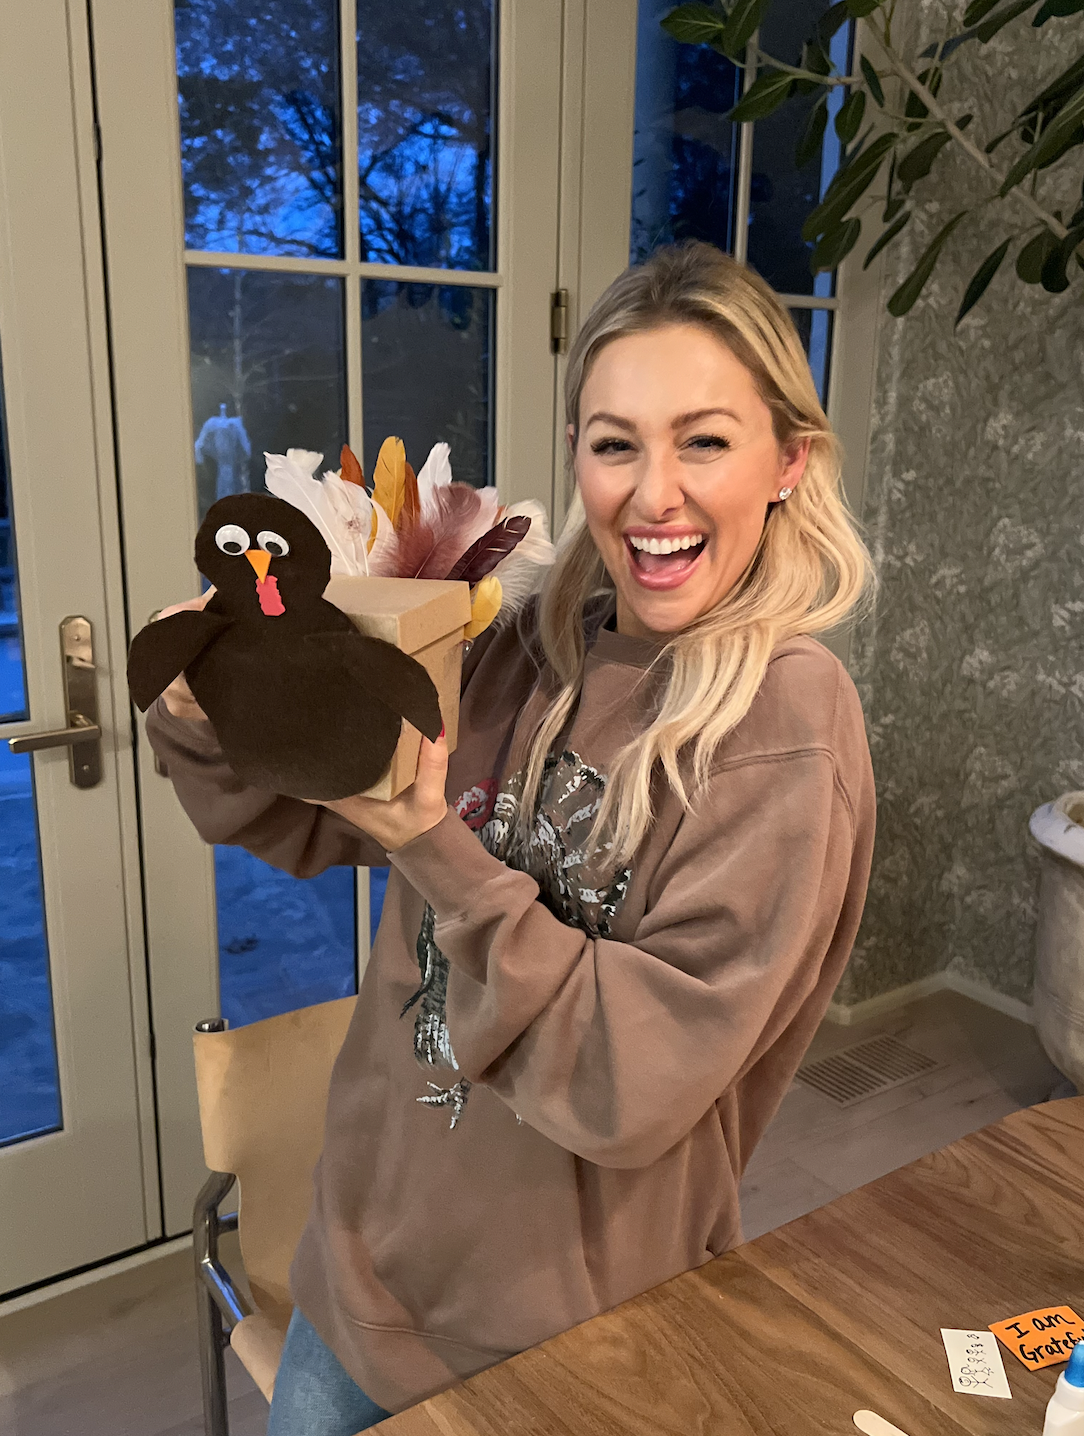
The air is cooling and leaves are falling here in Nashville. I can’t believe Thanksgiving is this week already, where has the time gone y’all? I always love Thanksgiving time. It is the perfect time to gather with loved ones and reflect on the blessings that fill our lives. In the spirit of Thanksgiving, we decided to embark on a creative journey with Ford and Shepherd this week.
Let’s Get Crafting!
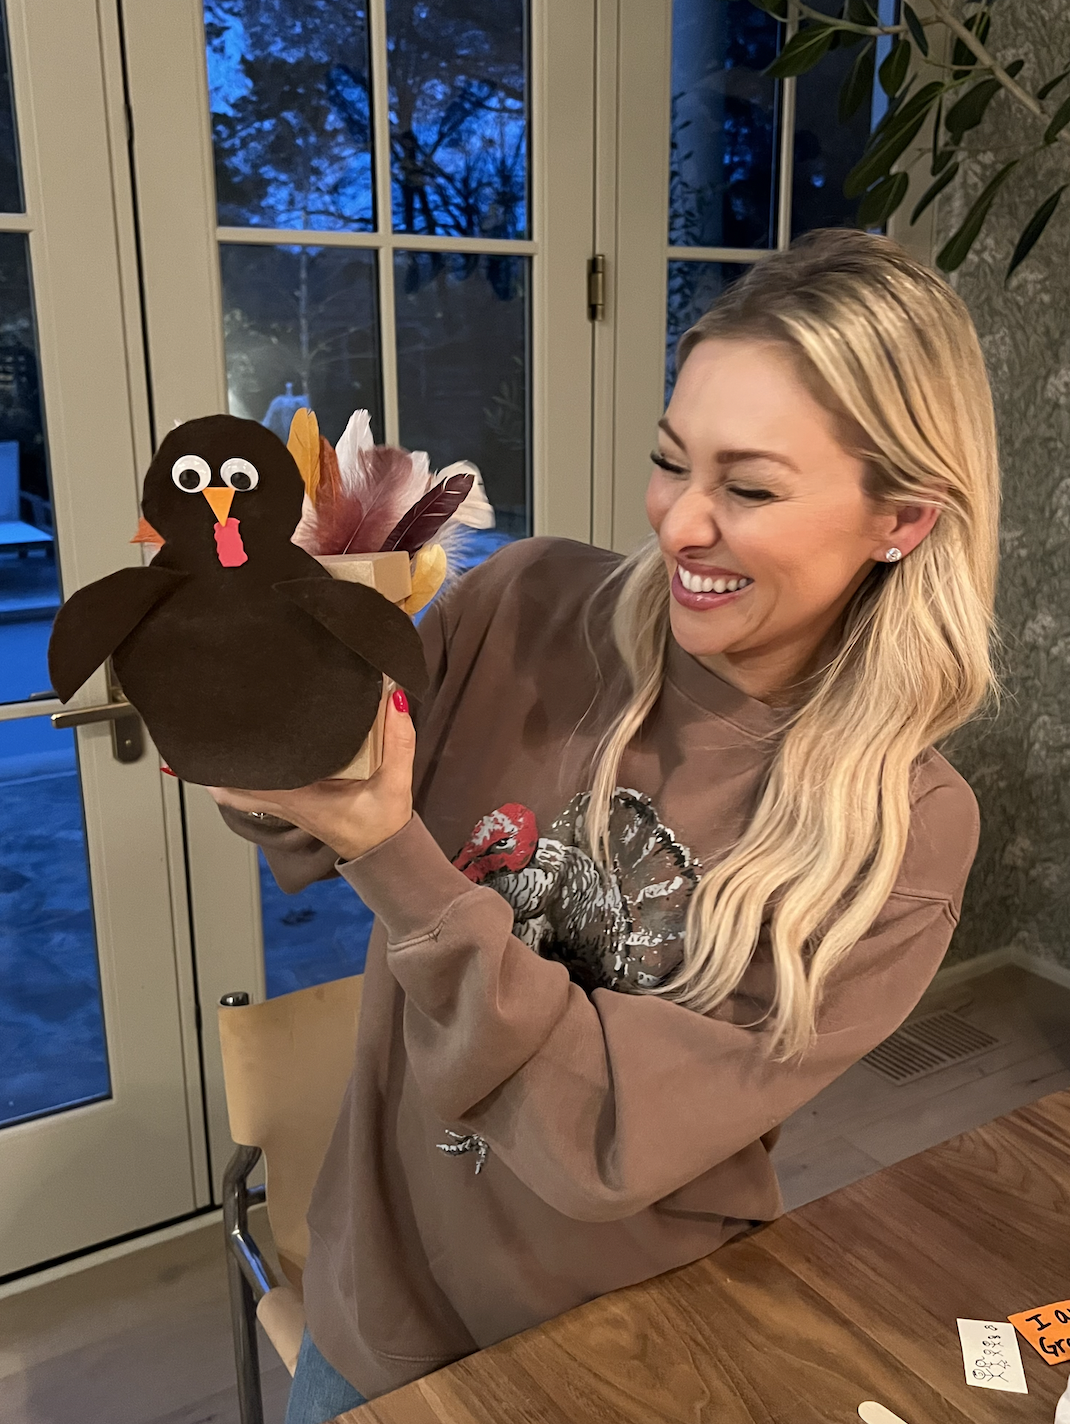
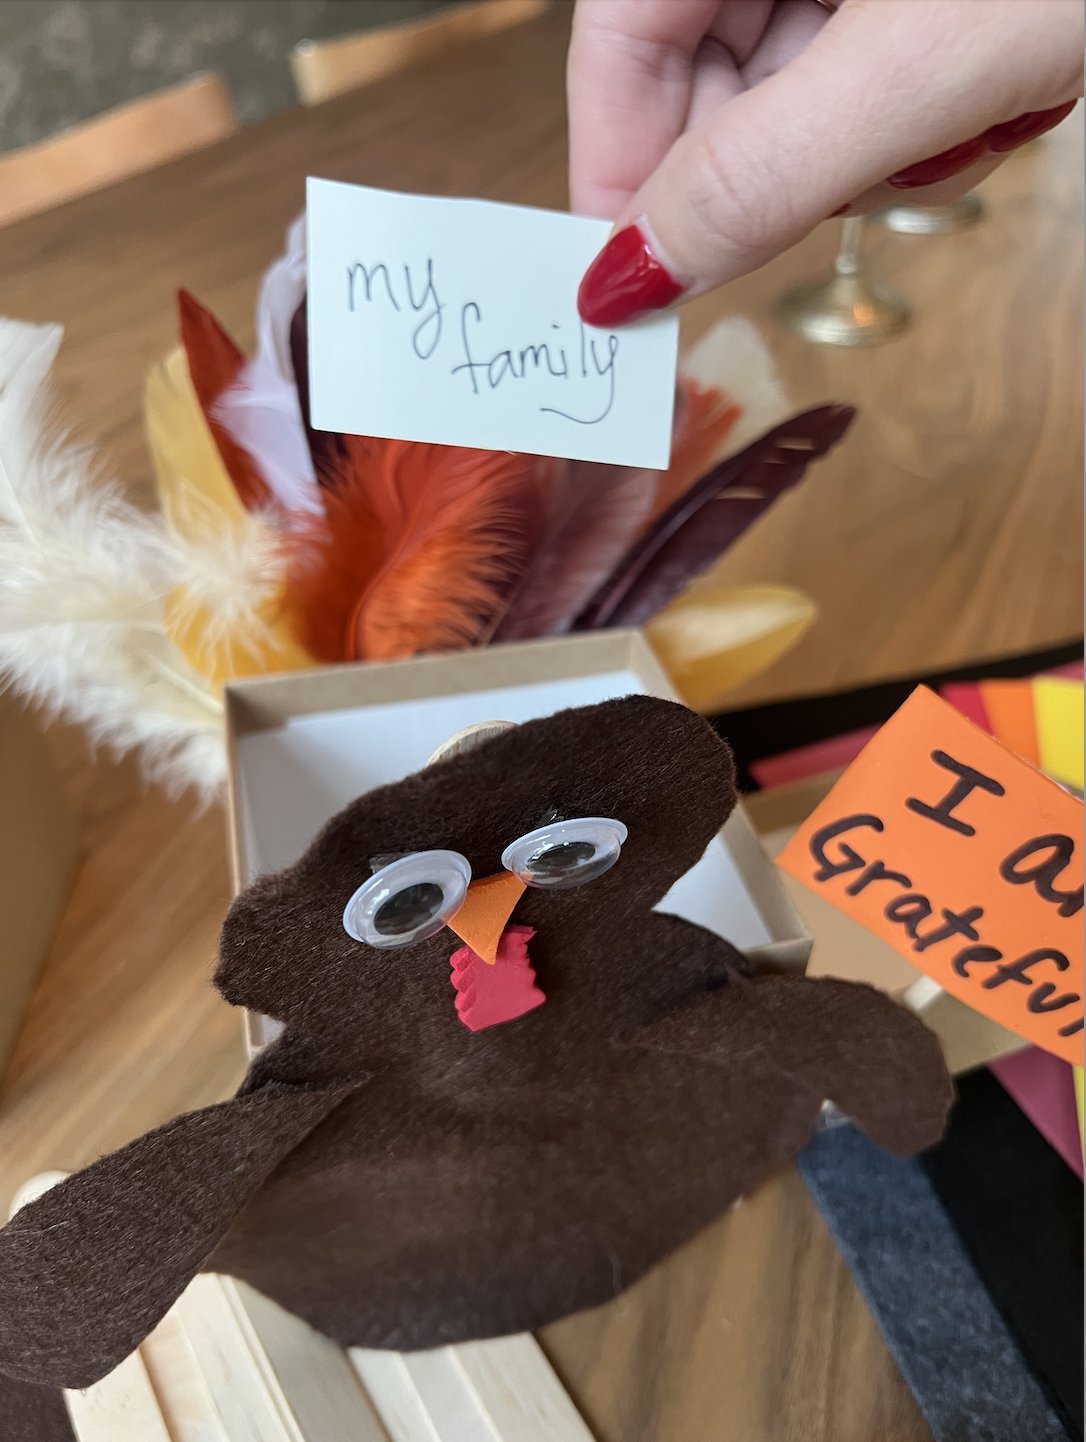
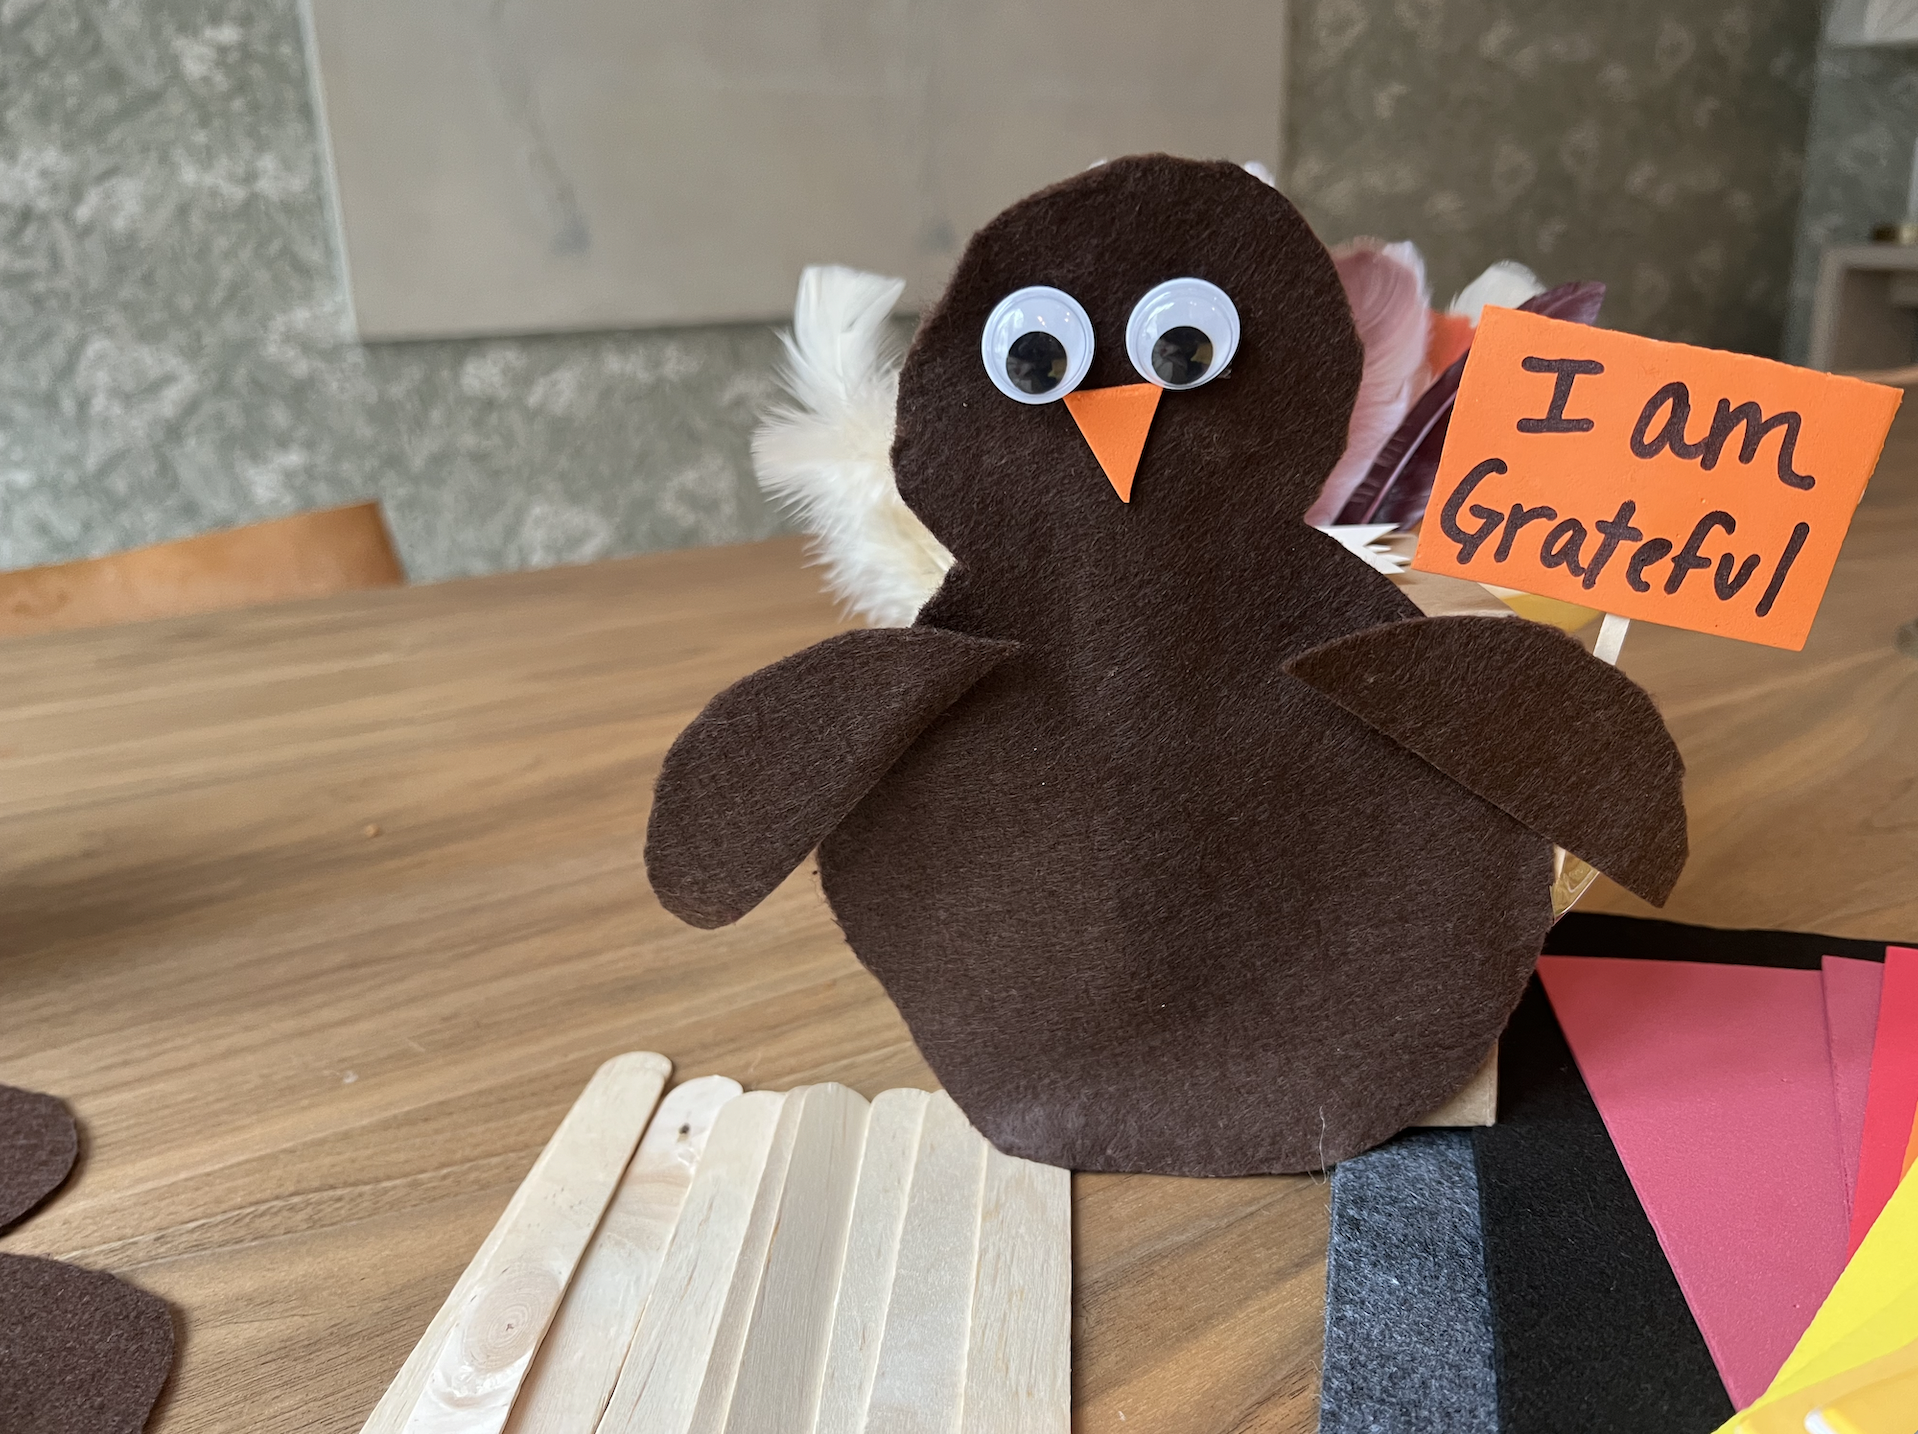
We found this DIY gratitude turkey online and thought it was the perfect blend of fun, creativity, and meaning.
This delightful project not only sparks the joy of creativity but also instills a “reason” for the season for the boys, making it a heartwarming activity for the whole family.
In this post, we’ll guide you through the steps of creating this adorable Turkey Gratitude Box. Whether you’re a seasoned crafter or just looking for a fun and easy activity to share with your kids, this project is sure to bring smiles, laughter, and a deeper appreciation for the blessings in our lives. So, gather your crafting supplies and let’s make a turkey!
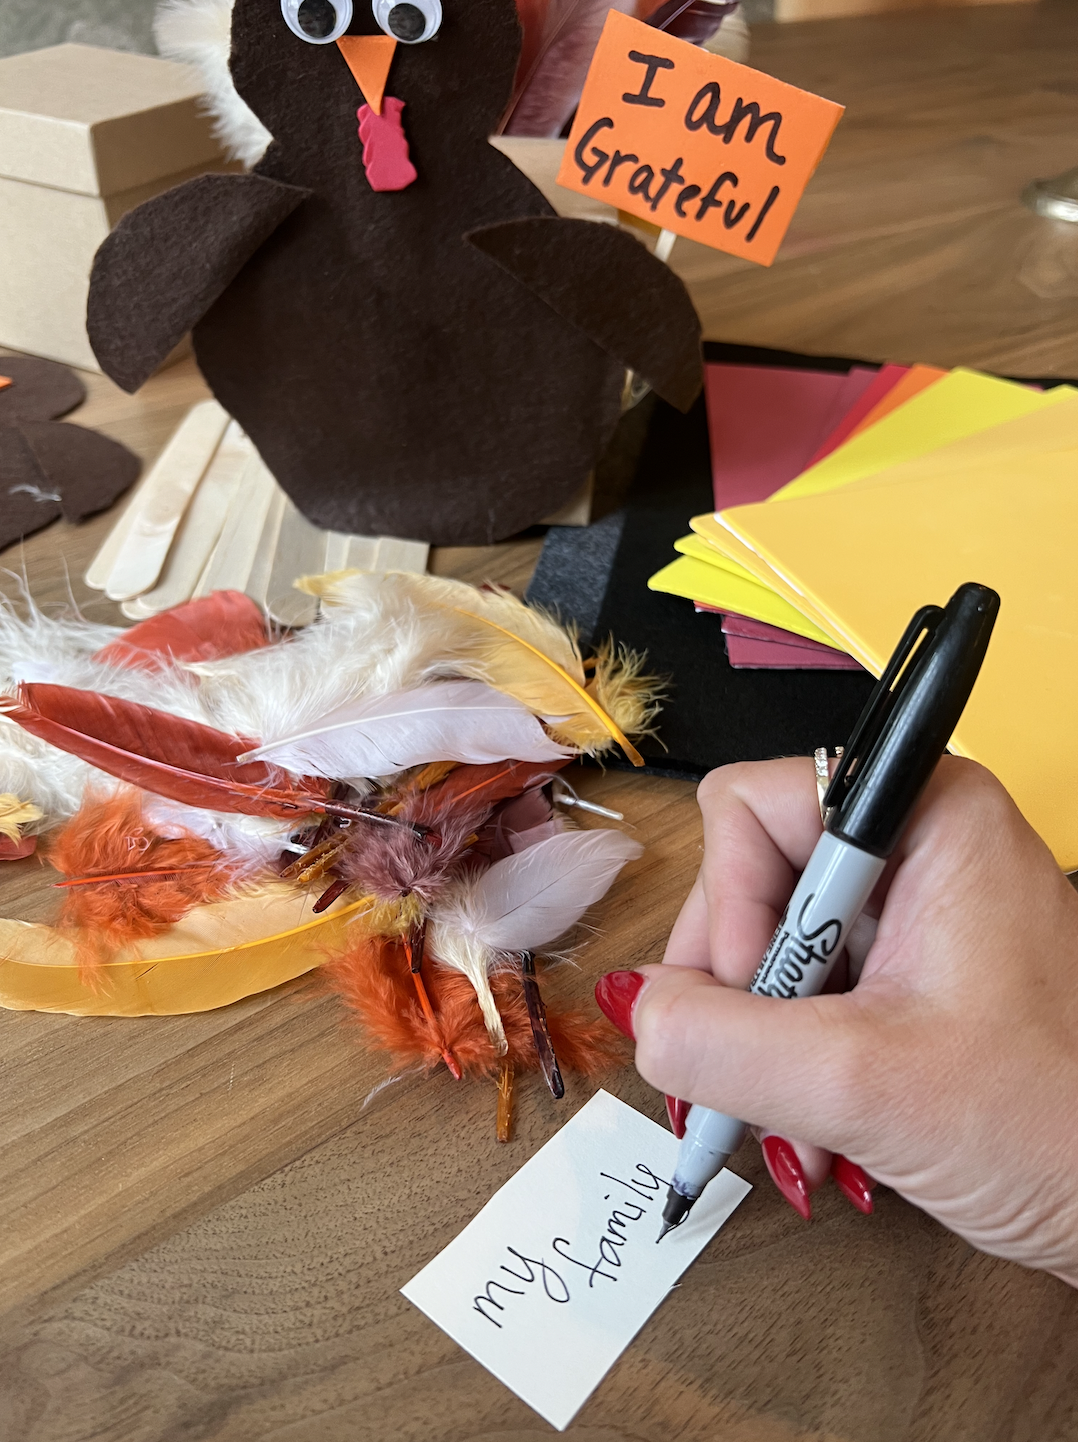
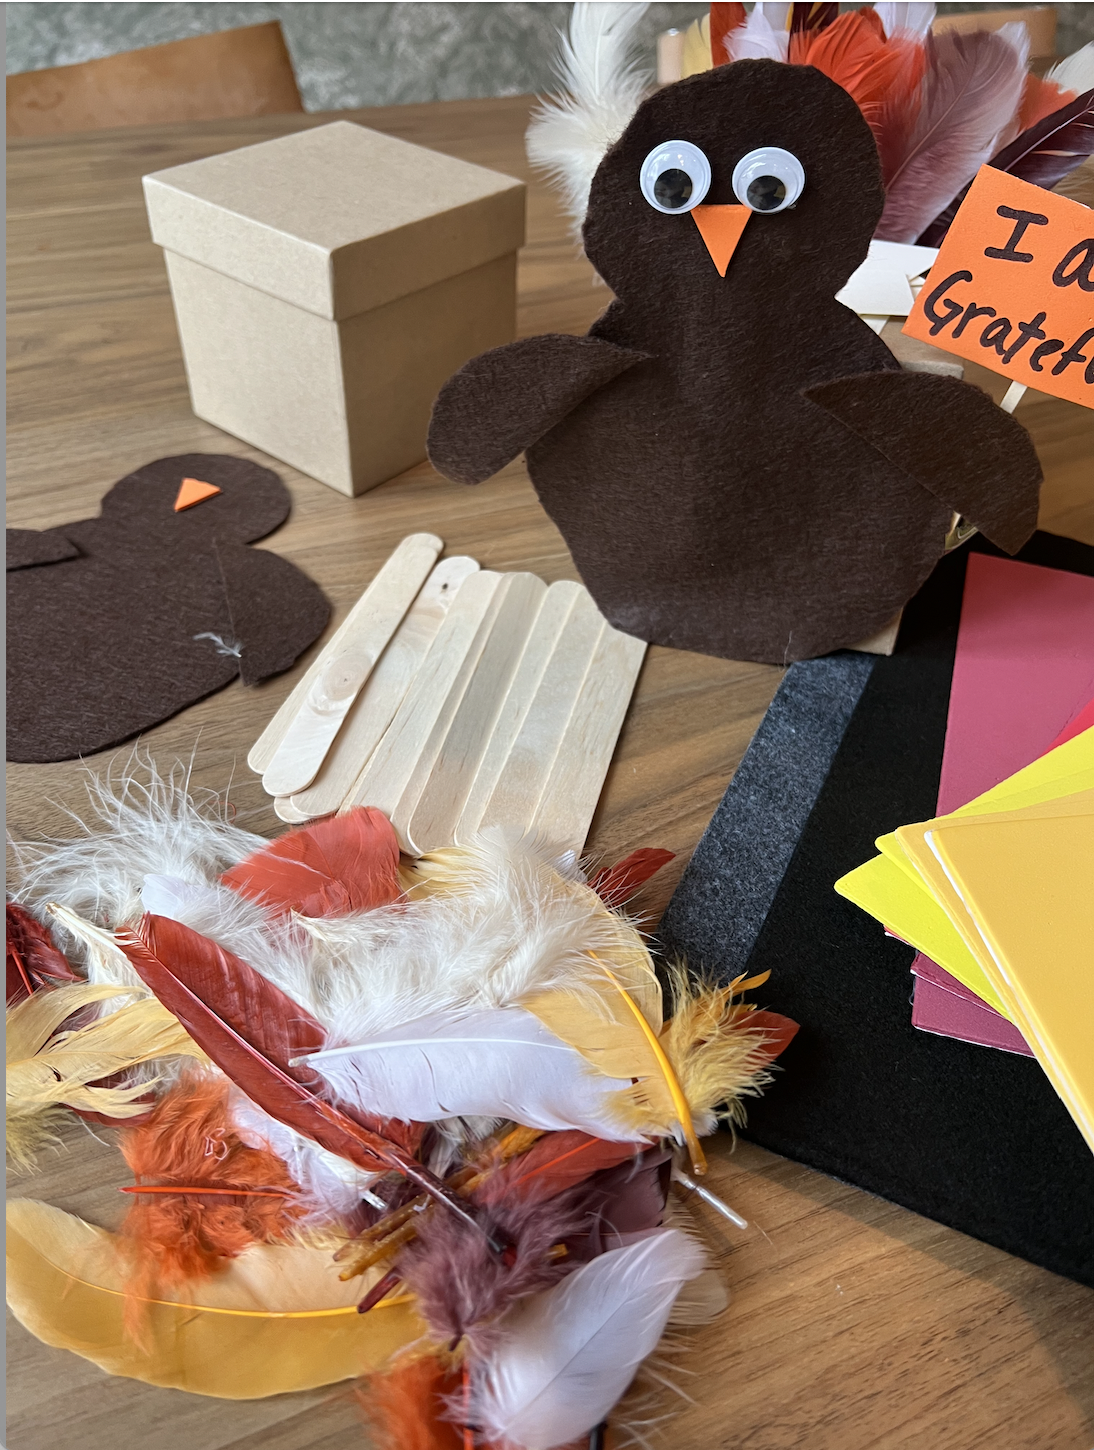
What You Need
Felt for the body of the turkey
Foam paper with sticky backing
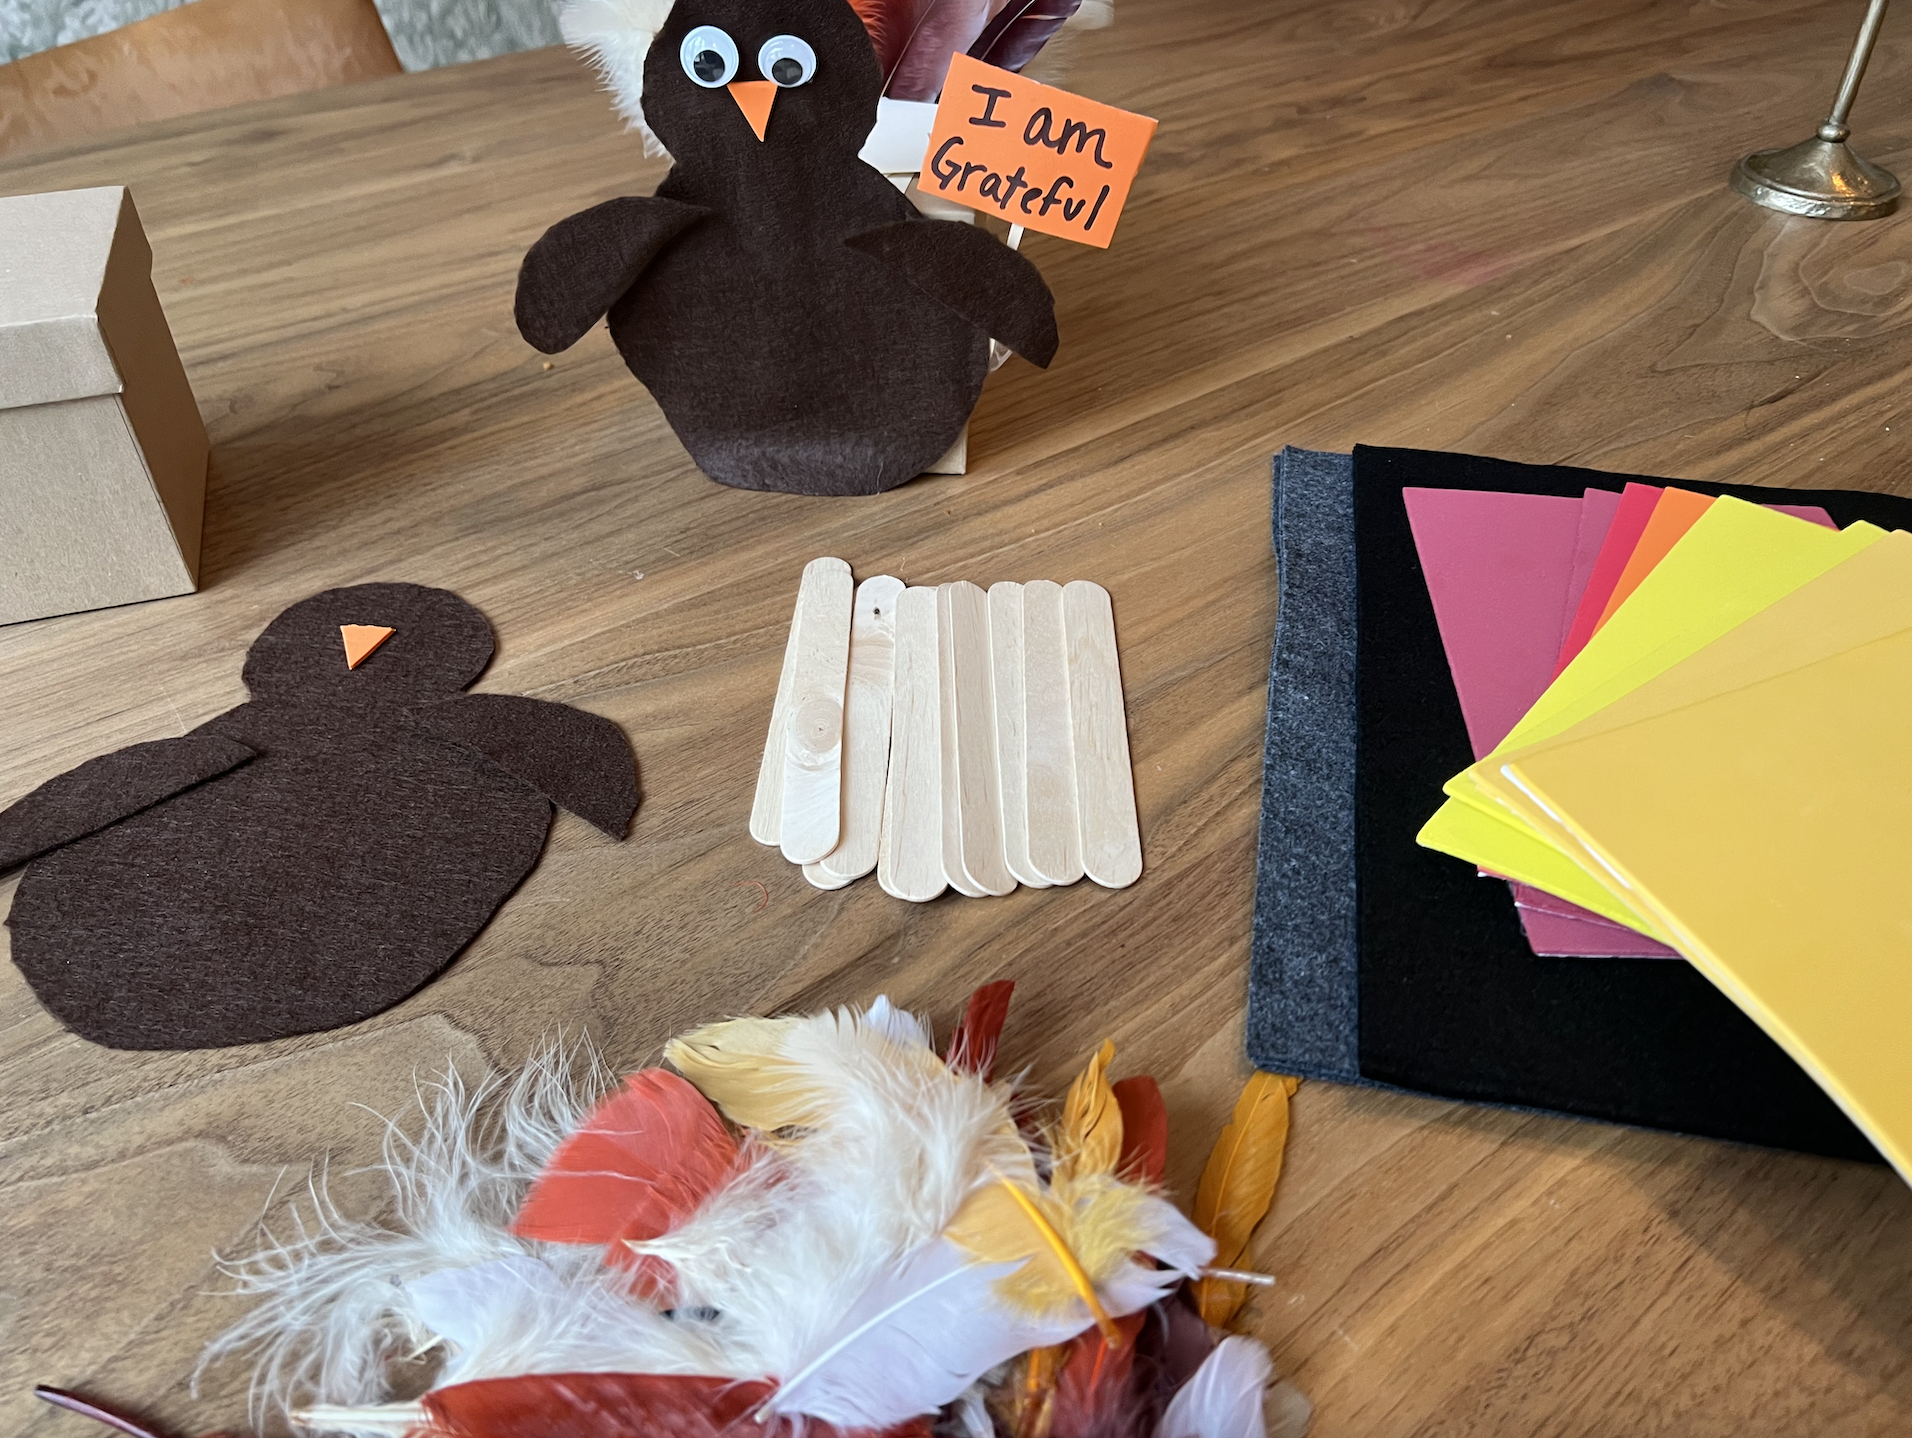
The How To’s
Step 1:
Begin with an empty brown box. I used this one with a lid so you can easily open and put gratitudes inside.
Step 2:
Cut out a brown turkey body (one small circle and one larger circle or one whole piece- up to you), and two wings out of the brown felt.
Step 3:
Cut a triangle out of the orange foam paper and a gobbler out of the red foam paper.
Step 4:
Glue two wiggle eyes to the turkey’s head, then adhere the beak and gobbler with the sticky backing. Then, glue the turkey’s wings in place.
Step 5:
Glue the turkey to the Popsicle stick. Then glue the turkey to the front of the box. The popsicle stick serves as a support for the turkey body so it doesn’t fall forward.
Step 6:
Glue as many feathers to the back of the tissue box as you would like so that they stick up over the top!
Step 7:
Make a sign for the turkey to hold that says something like “I’m Thankful For…” or “My Blessings” or “Gratitudes”! Cut out a piece of white cardstock and write on it. Now, glue it to a toothpick, then glue the craft stick behind the turkey’s wing so it looks like he is holding the sign!
Step 8:
Cut out little pieces of cardstock to write gratitudes on them throughout the days leading to thanksgiving or on Thanksgiving itself. Then each time you write one, drop them into the tissue box! At the end of November you’ll have tons of gratitudes filling the box.
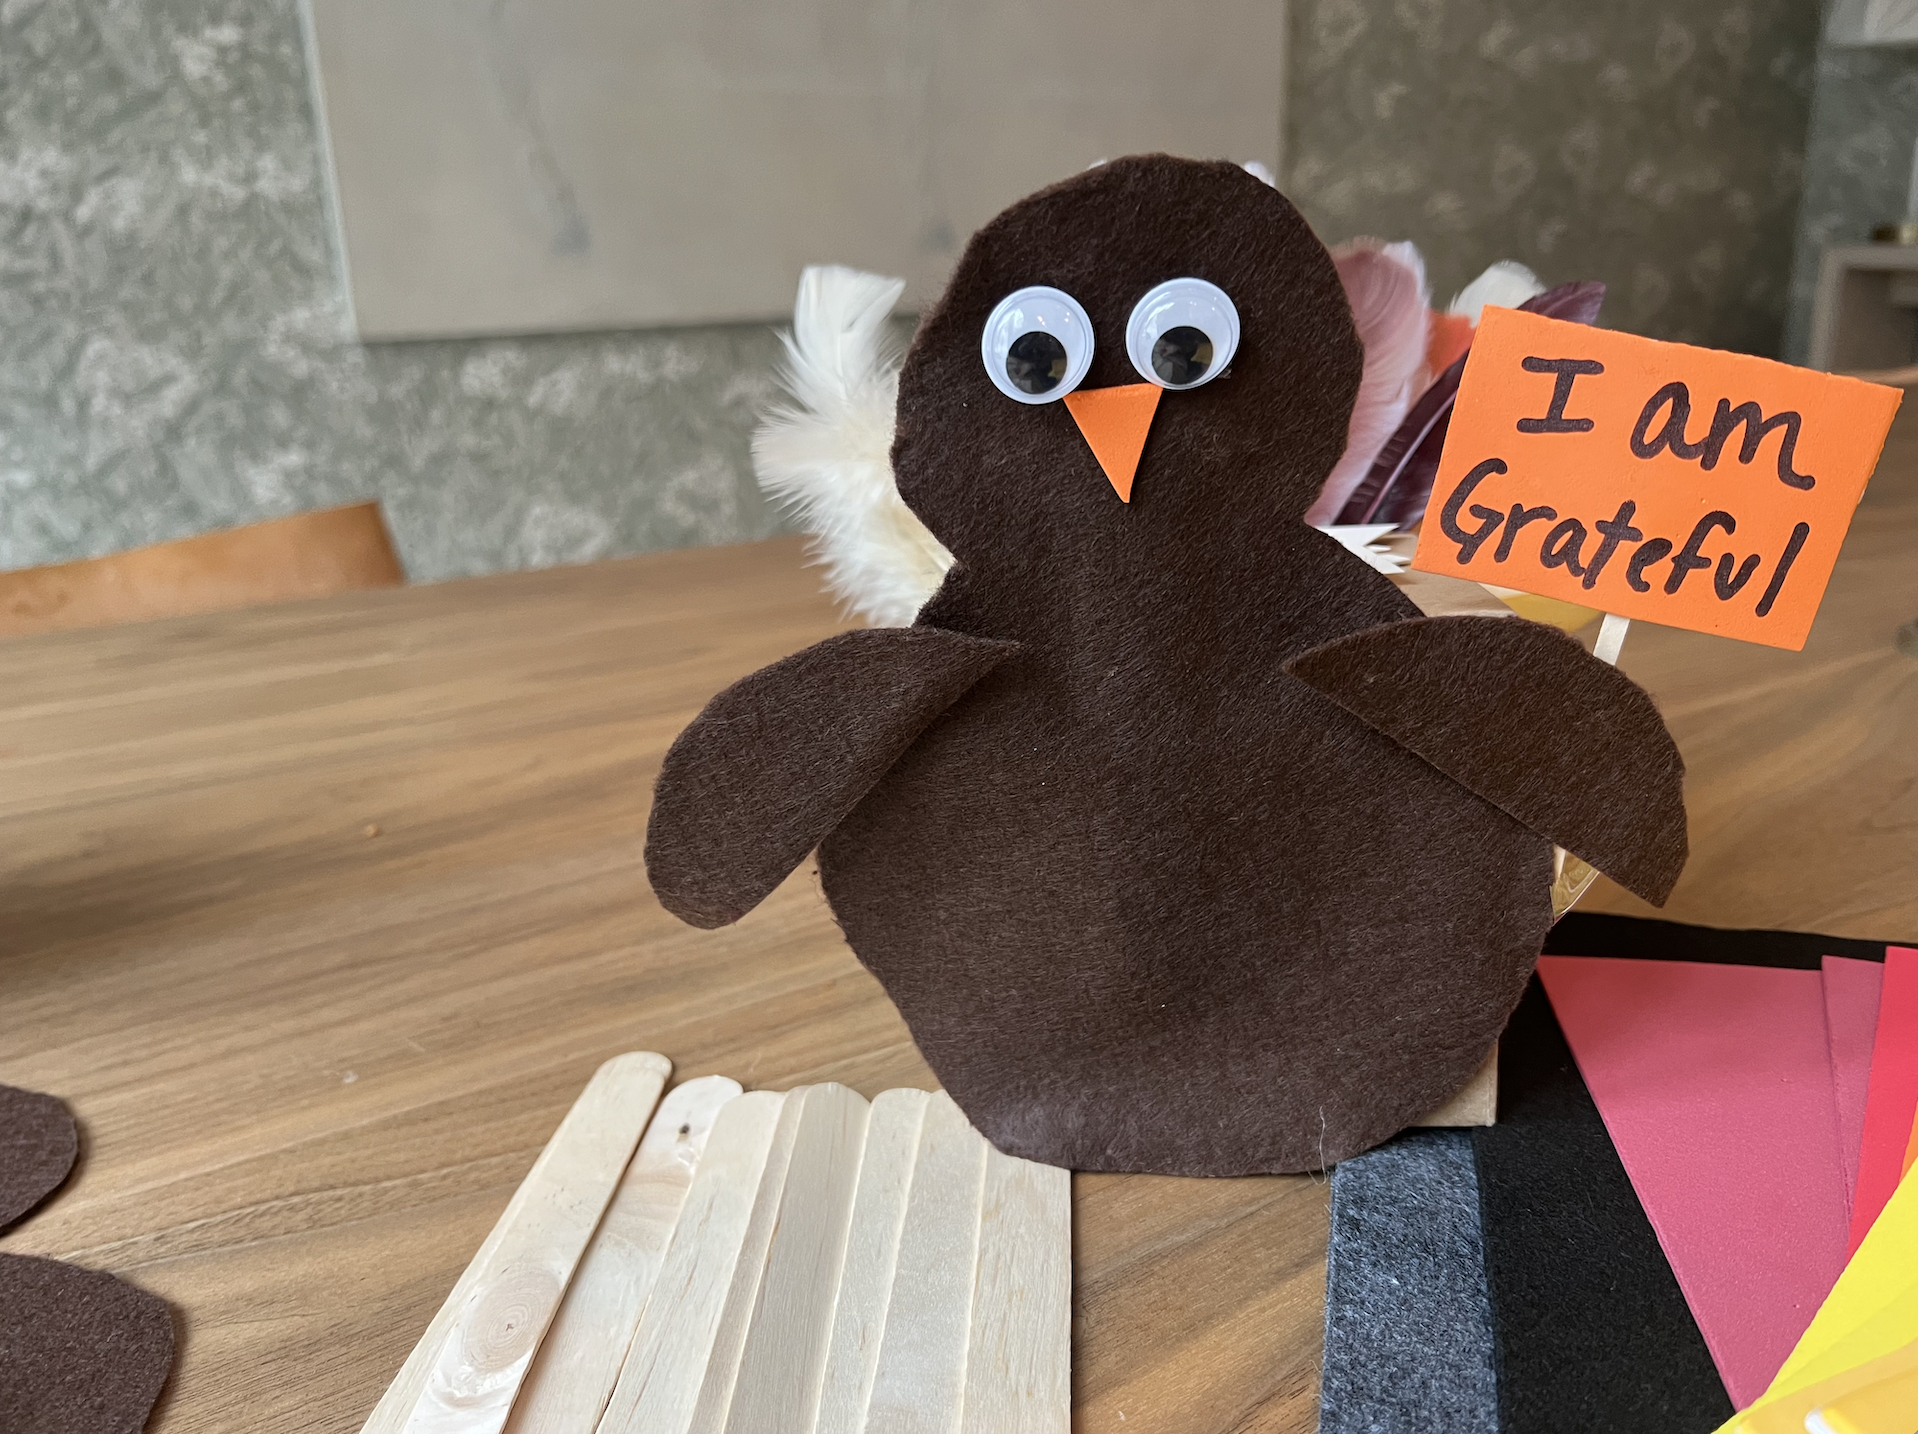
I love this idea because it not only brings attention to all of our blessings, but we can also go back and read them throughout the year! There are SO MANY things to be thankful for and I want to instill that in my kids from day one. I can’t wait for Ford and Shepherd to teach Sunday all about gratitude as the years go on. I think we will make this a tradition and do it every year together as a family. Then, at the Thanksgiving table, we can go through and read all the pieces of paper. Let me know if you try this with your kids!
Happy Thanksgiving! Wishing you and your family many blessings this holiday season!
We got the inspo for this from Michael’s!